


Step 1
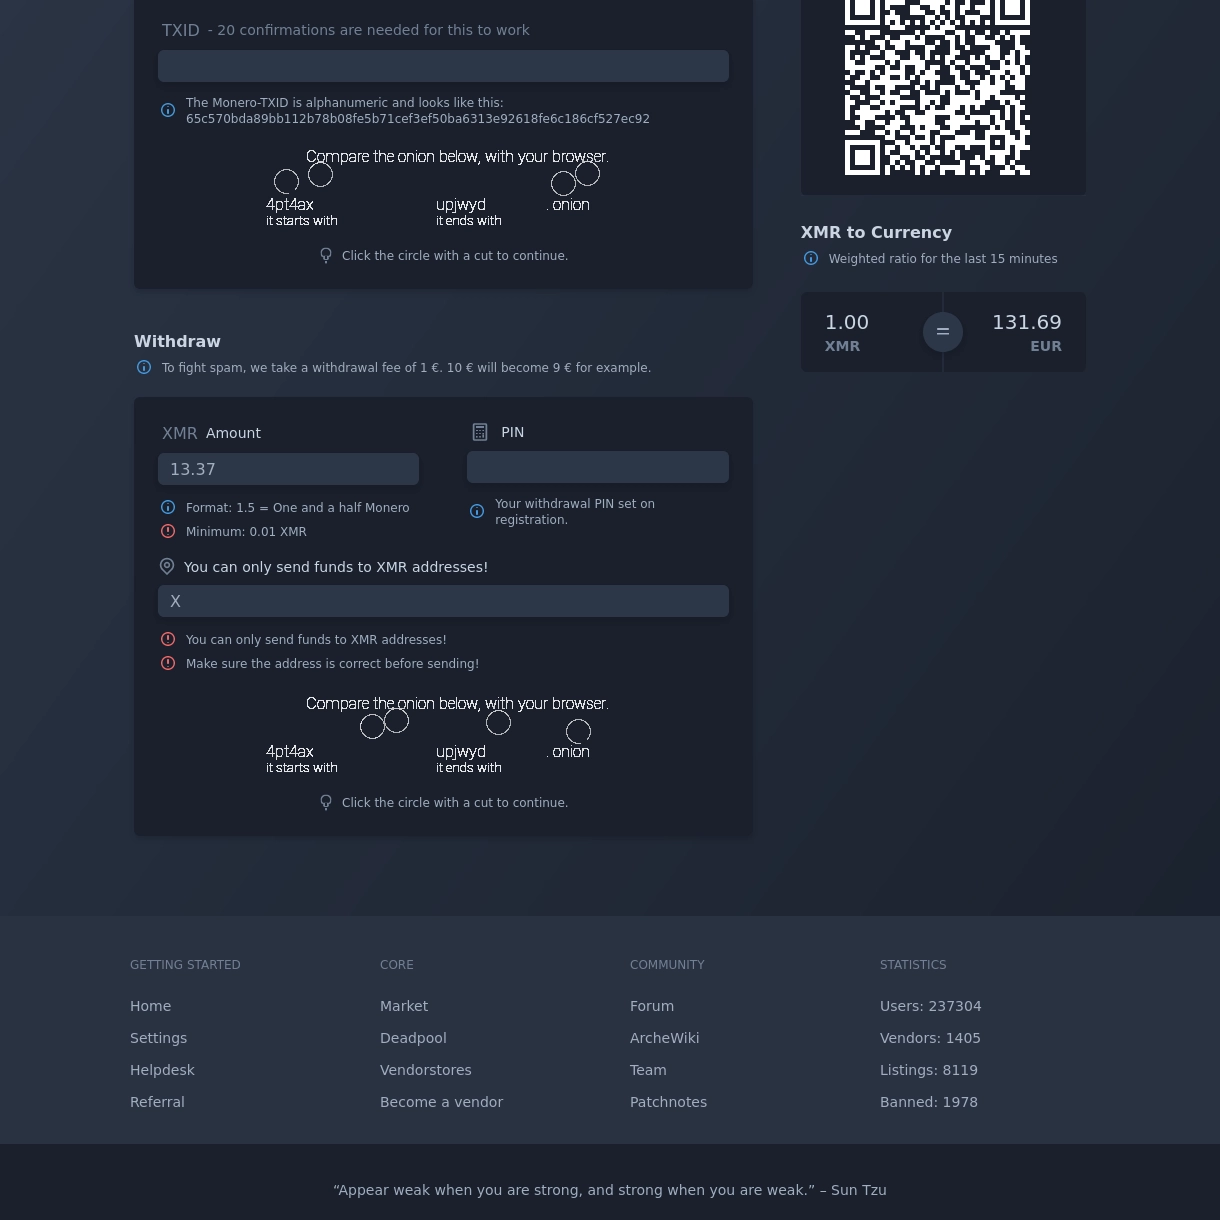
Go To The Wallet Page
To access the wallet section, navigate to the bottom of the page where you will discover a dedicated area for fund withdrawals. This section is clearly labeled with a "Withdraw" marker, making it easy to locate even if you are visiting the wallet tools for the first time. The placement at the bottom of the wallet interface keeps your primary balance and transaction history visible at the top while ensuring that withdrawal functions remain accessible without cluttering the main screen.
Before proceeding, it is recommended to verify that you are on the correct wallet page and that your session is active. A stable and secure connection to the platform helps avoid interruptions during the withdrawal process. It is also a good practice to confirm that you are using the official mirror or domain and that no unauthorized browser extensions or plugins are interfering with your session. Once you have located the withdrawal section and confirmed your connection is secure, you can move on to the next step.
If this is your first time using the wallet, you may find it helpful to familiarize yourself with the overall layout before initiating any action. Understanding where your current balance, pending transactions, and withdrawal tools are located will make the process smoother and reduce the chance of confusion later. Take a moment to visually scan the entire page before scrolling down to the withdrawal area.
Step 2
Filling Out The Withdrawal Form
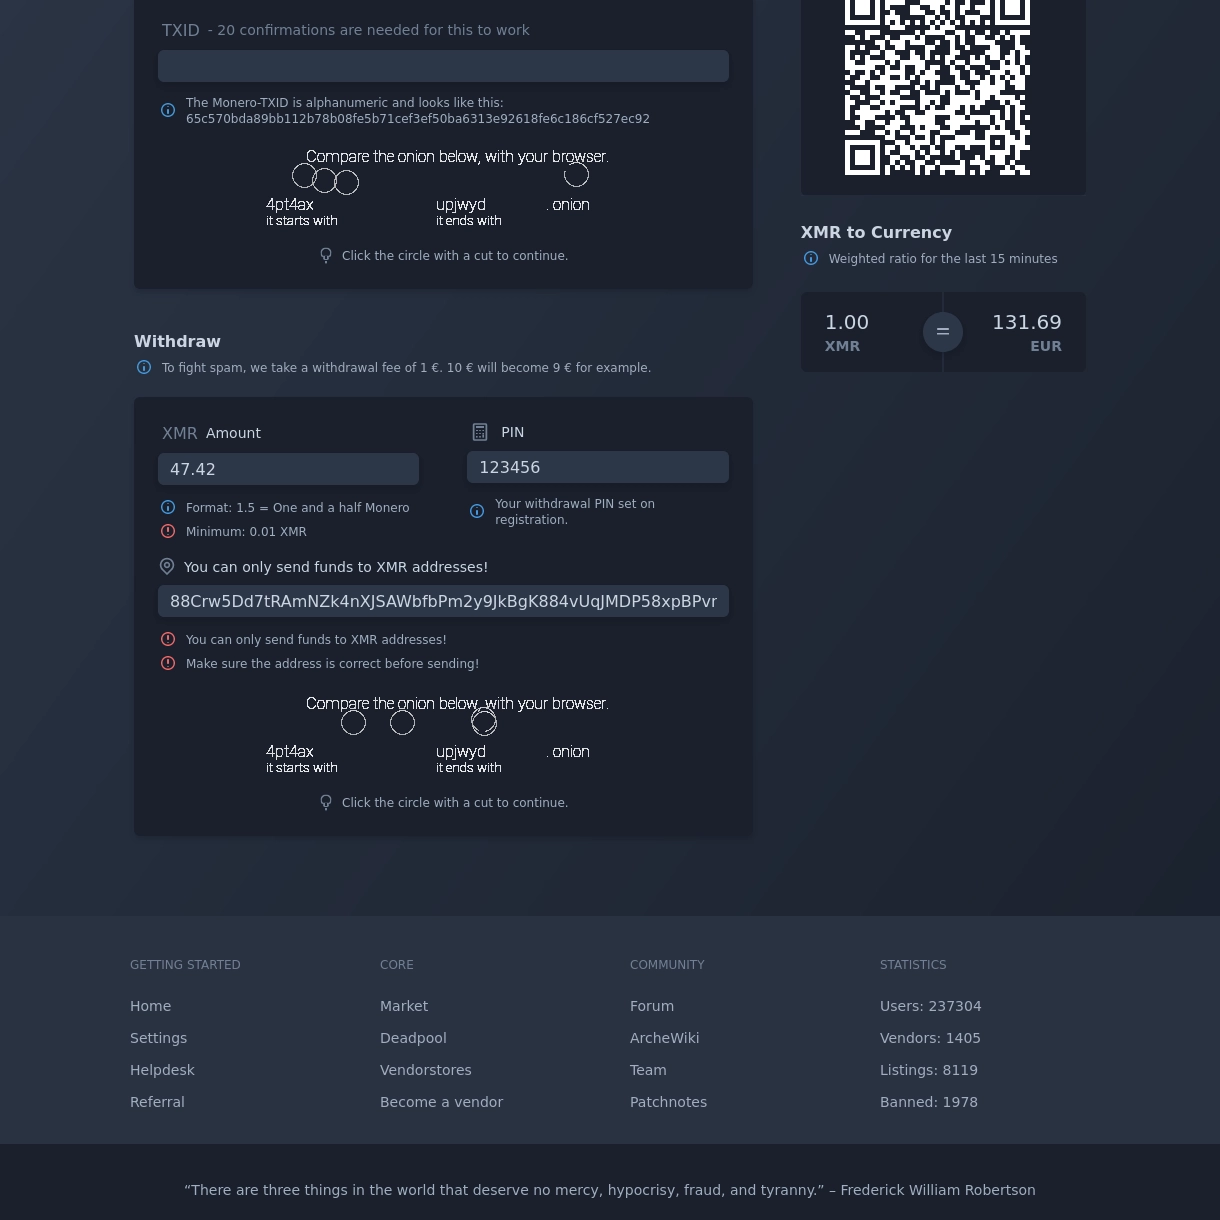
In order to notify the Archetyp financial system about your intention to withdraw funds, you need to submit a request. This request is composed of three specific components that you will find in the withdrawal section. Each field has a clear purpose, and understanding them before you start entering data can save time and reduce the chance of errors.
You will need to provide the following details: the amount you wish to withdraw, the XMR address where the funds should be sent, and your PIN code. The amount field defines how much of your available balance will leave the platform. The XMR address is the destination wallet that will receive the transfer, so it must be copied accurately. The PIN code acts as a security confirmation tied to your account and authorizes the transaction.
Each of these components comes with a short description to guide you on what information needs to be entered. Make sure to accurately complete all three fields according to their functions before proceeding to the final step. Double-checking the XMR address character by character is especially important, because a single wrong symbol can send the funds to an unintended destination. Avoid copying addresses from unverified sources, and whenever possible, use the address exactly as it appears in your external wallet application.
If you are unsure about any field, take a moment to review the guidance text next to it. Completing the form carefully is the most effective way to avoid delays or failed withdrawal attempts. In addition, be aware that the available withdrawal amount may be influenced by pending deposits or holds. Always check your current spendable balance before submitting a request to prevent rejections caused by insufficient funds.
Security should remain a priority at this stage. Use a PIN code that only you know, and never share it with anyone. If you suspect that your account credentials may have been compromised, consider updating your PIN and reviewing recent activity before proceeding with a withdrawal.
Step 3
Completion Of Withdrawal Of Funds
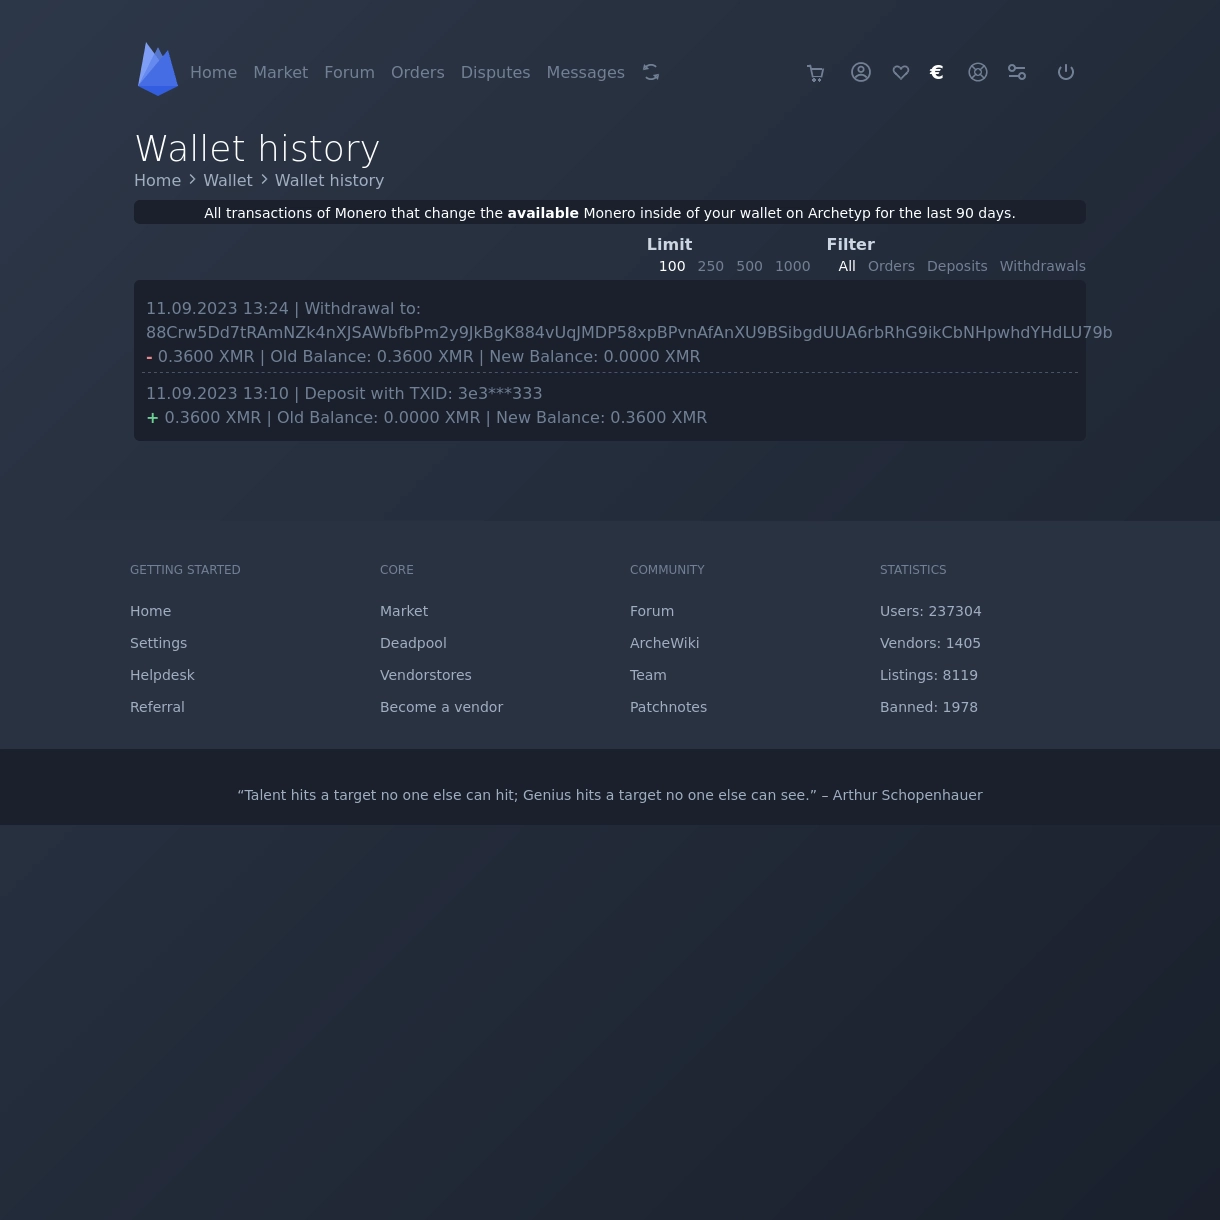
Before finalizing, carefully check the destination address, network, and amount you entered. Even a minor mismatch can cause the request to be rejected or the transfer to fail. The captcha challenge below is a security measure that verifies you are not an automated script. Solve the captcha and press the final confirmation button once.
After that, your withdrawal request will be processed according to the details you provided. Processing times may vary depending on the current load on the financial system and the external network conditions. Keep any confirmation message or transaction identifier for your records, and avoid submitting repeated requests until the current one is resolved.
If you notice an error after confirmation, do not panic. Review the available options for pending requests and check whether the platform provides a cancel or correction window. Unnecessary repeated submissions can create confusion and may delay the handling of your original request. A patient and attentive approach during this final step helps ensure that your funds are transferred smoothly and securely.
For additional peace of mind, you may want to monitor the transaction status from your external wallet side once the transfer has been broadcast. Keep in mind that network confirmations can take time, and the transaction may not appear instantly in the destination wallet. If the transaction remains pending for an unusually long period, consult the platform's support channels or relevant community discussions rather than resubmitting the same request.
Following these steps carefully reduces the likelihood of avoidable mistakes and contributes to a smoother withdrawal experience. Always maintain good security habits, verify each detail before confirming, and keep a record of your outgoing transfers for future reference.